
Since v2.0 of the Declarative Rollup Tool, it is now possible to use Custom Metadata to store rollup configurations. Not only does this make it easy to transfer those you have setup in Sandbox via Change Sets, you can also use Salesforce packaging to capture those you’ve created and install them over and over into other orgs, like a reusable Change Set!
Create and set up your Packaging Org
To do this, you need a Developer Edition org from Salesforce, this will act as your master org for your common rollup definitions. Here you can install the rollup tool package itself as minimum. Then also create common fields or objects used by your rollups if you wish. You can also install any other packages, such as the NPSP packages. Basically prepare and test everything here as you would normally in Sandbox or Production.

Creating your Package
Under the Setup menu navigation to Create and then Packages. Create a new Package with an appropriate name. Click Add to components, components are anything from Custom Objects, Fields, Apex Triggers and Apex Tests to the Rollup definitions themselves. As a minimum you will need to add the following components for rollups.
- Apex Classes for the rollup/s (starting dlrs)
- Apex Triggers for the rollup/s (starting dlrs)
- Lookup Rollup Summary definition/s
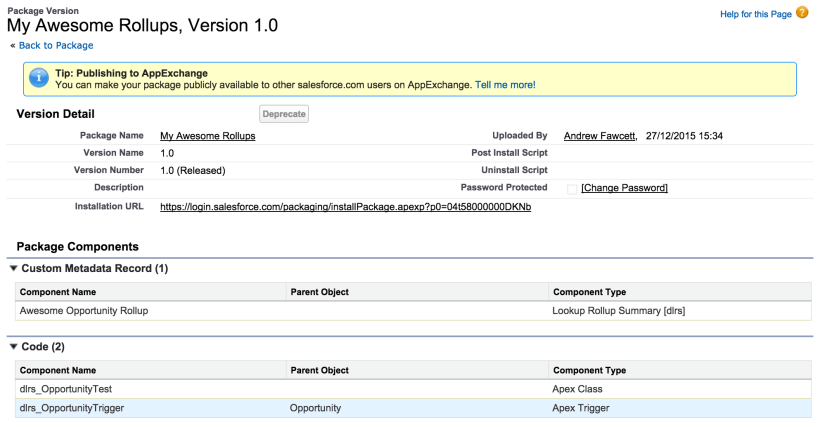
The platform adds a few other dependent things as you can see in the screenshot below, but don’t worry about these. You should have something like this…

Tip: After creating your rollups, go to Setup and Custom Metadata, and find your rollup definition, edit it and locate the Protected checkbox, then hit Save (at present this checkbox is not shown in the custom UI for rollups). This checkbox prevents users or other admins from changing your rollup definition once installed. You also need to use the managed package route though, as described below.
Choosing Unmanaged or Managed Packages
This choice depends on if you want to manage several updates / releases to your rollups over time, adding or updating as you improve things. An umanaged package is basically like just installing a template of your rollups, once installed thats it, they are no longer linked to your package. If however you want to install updates to them and/or stop people from editing your rollups (see protected mode above), you want a managed package.
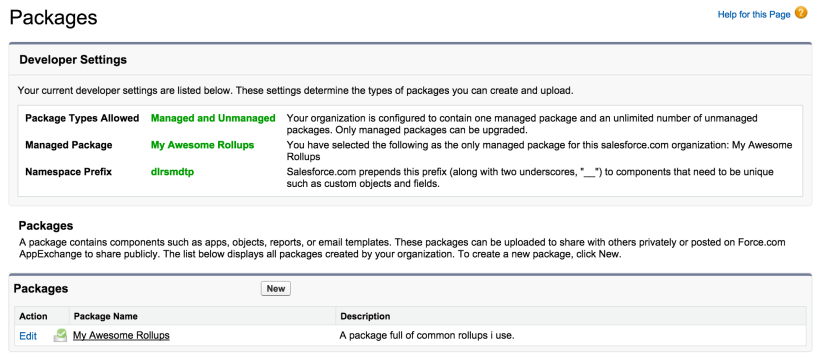
Setting a namespace for your Managed Package
If you decided you only want an unmanaged package, skip this bit. Otherwise on the Packages page, under Setup then Create. Click Edit button and follow the prompts to enter a namespace, this is a short mnemonic that describes your package, like a unique ID. Once set it cannot be changed. Next find your Package detail and click Edit, selecting the Managed checkbox on hitting Save.
Uploading your Rollup Package!
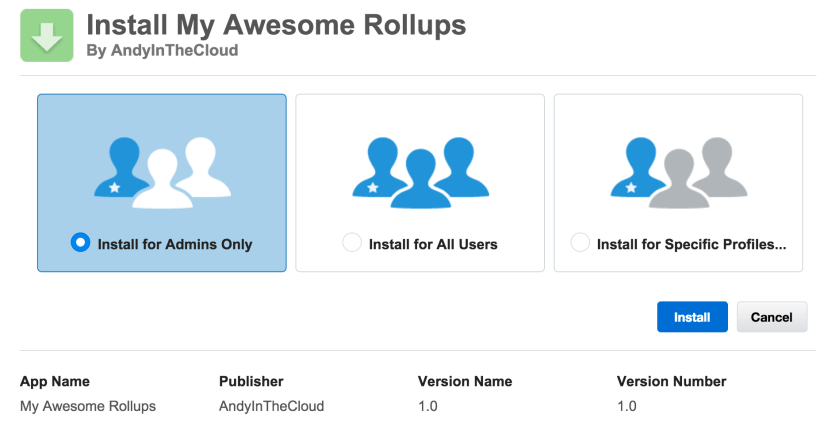
This process basically builds your installer, by actually placing a copy of what you’ve done in the AppExchange servers. All be it as a private listing. This gives you an install link to use over and over as much as you like. Install it in the sandbox and production as needed.
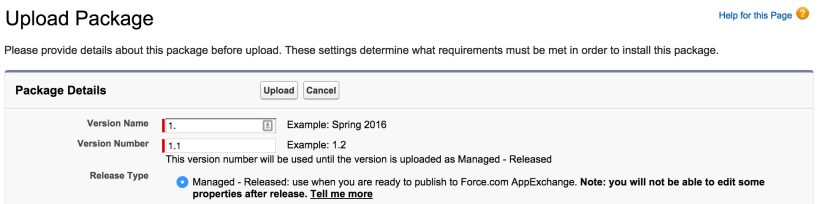
Click on your package and then the Upload button, give it a name and version of your choose. Be sure to select the Release mode, in most cases for this packaged content worrying about Beta vs Release mode is not a concern. Press Upload and wait.
Rinse and Repeat?
Keep in mind if you went with the managed package route. You can go back to your packaging org, make some improvements, add more rollups etc, then repeat the upload process to get a new version of your package. Simply then go to any existing org with your prior release installed and upgrade.
NOTE: To ensure your rollup definitions are upgraded they must be marked as protected. If you don’t care about this and only want new rollups to be added, retaining subscriber (installed org) changes, don’t worry about Protected rollups.

September 17, 2020 at 7:07 am
Hi Andrew, is it a requirement to have DLRS previously installed in the target org where the “packaged rollups” will be installed?
December 31, 2020 at 9:08 pm
Yes