Extensibility is a means for others to extend, for customisation purposes, your application operations in a clear and defined way – it’s a key consideration for supporting unique customisation use cases both known and unknown. It’s an approach many Salesforce products leverage, an Apex Trigger being the most obvious – though limited to data manipulation use cases – but what about your UIs and processes?
This blog will take a look at two approaches to providing extensibility points within application logic, including automatically discovering compatible integrations – allowing you to make it easier and less error-prone for admins when configuring your application. For ease our use case is inspired by the calculator app on the Mac that allows you to pick modes suitable for different user types – imagine you have built a basic Salesforce calculator app – how do you ensure it can be extended further after you deliver it?
The first approach is via Apex interfaces, the second approach helps Admins extend your code with no code tools via Actions (created via Flow). There are many places and ways in which configuration is performed, here we will explore customising Lightning App builder to render dynamic drop down lists vs the traditional input fields when configuring your Calculators Lightning Web Component properties. Finally I created a small helper class that encapsulates the discovery logic – should you wish to take this further it might helpful – it comes complete with test coverage as well.
Apex Interfaces and Discovery
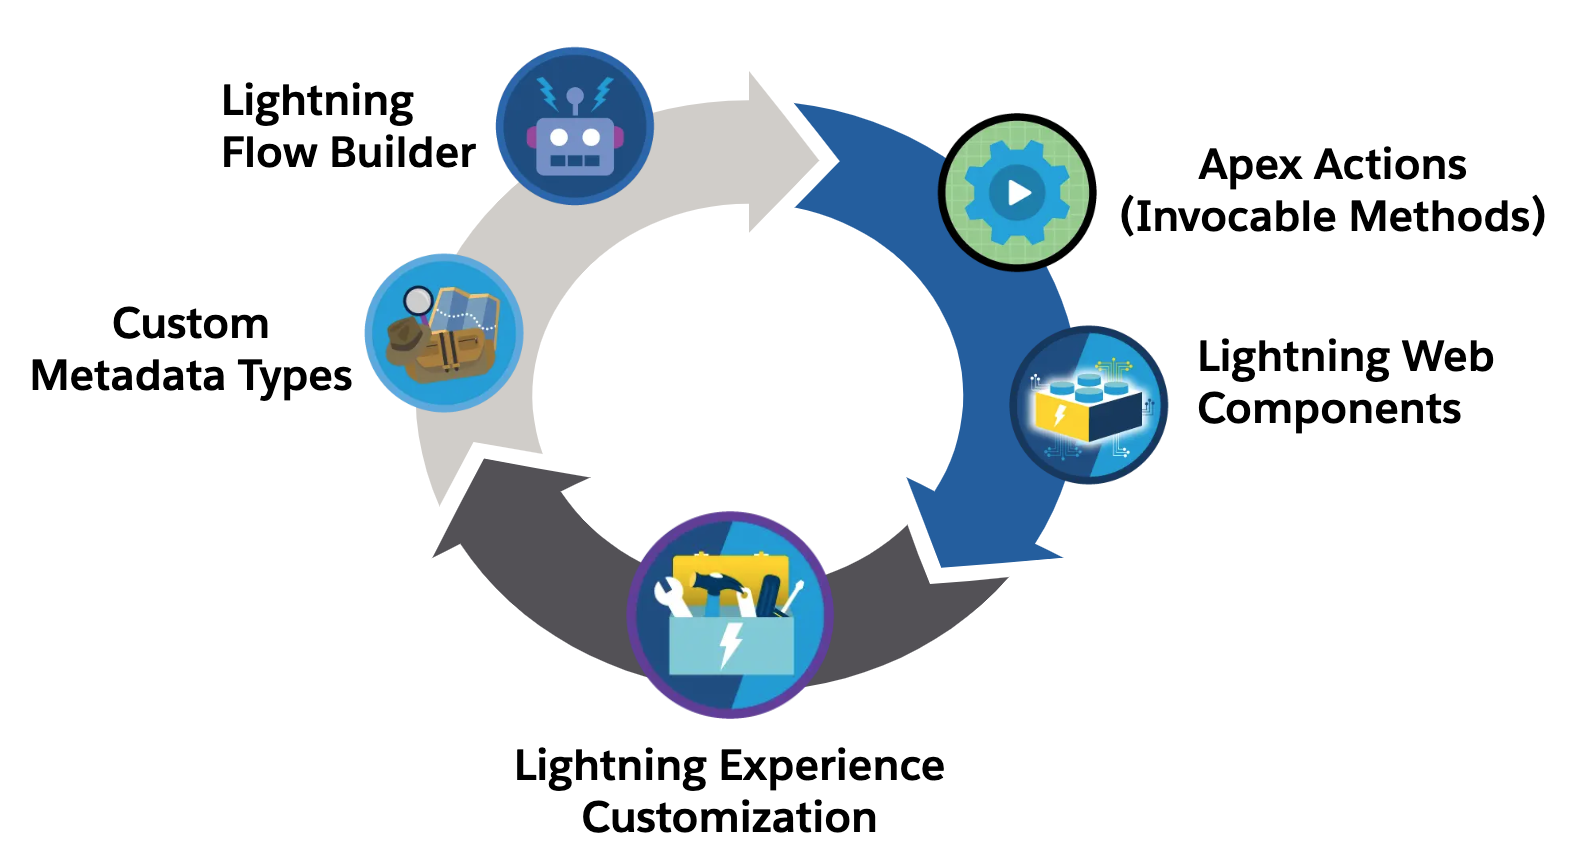
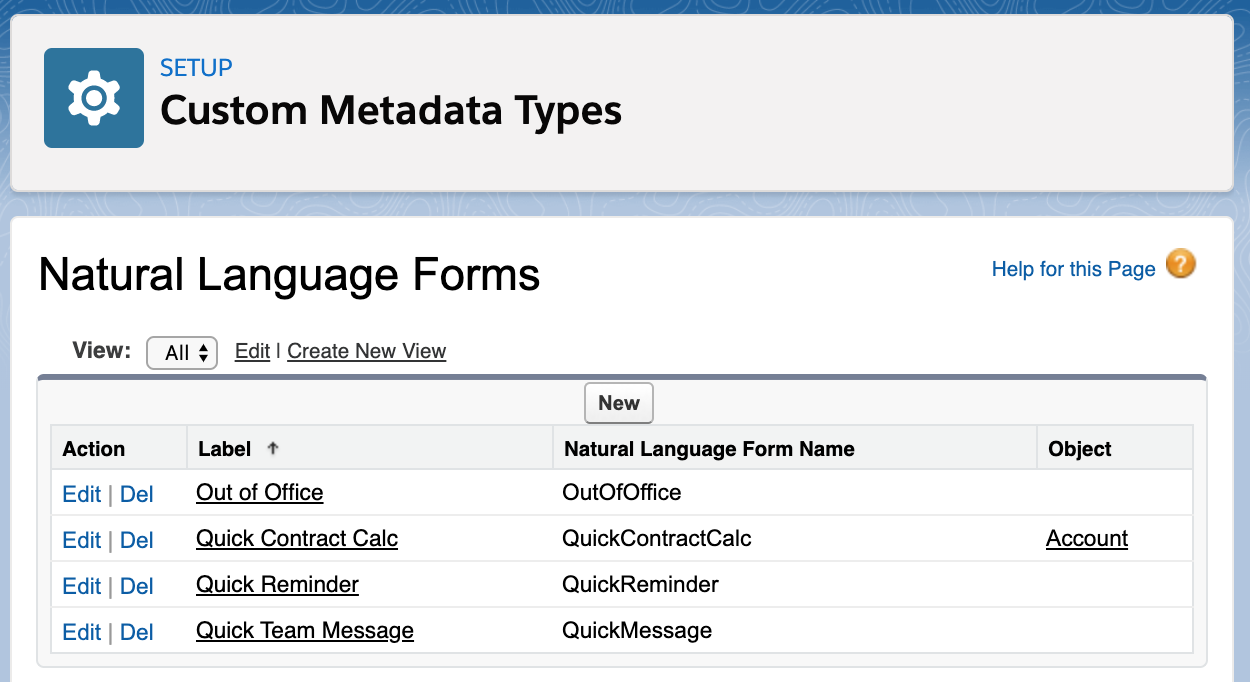
The principle here is straight forward, firstly identify places where you want to allow extensibility, for example calculation, validation or display logic and then define the information exchange required via an Apex Interface. Depending on where your calculator is being used you might use Custom Metadata Types or other configuration means such as configuration data stored in Flows and Lightning Page metadata. In the later two cases Salesforce tools also offer extensibility points to allow custom UIs to be rendered. Take the following Apex Interface and implementation:
// A means to add new buttons to a web calculator
public interface ICalculatorFunctions {

    // Declare the buttons
    List<CalculatorButton> getButtons();

    // Do the relevant calculations
    Object calculate(CalculatorButton button, CalculatorState stage);
}

// A customisation to add scientific calculations to the calculator
public class ScientificCalculator implements ICalculatorFunctions {

    // Additional buttons to display
    public List<CalculatorButton> getButtons() {
        List<CalculatorButton> buttons = new List<CalculatorButton>();
        // Row 1: Memory functions, AC, +/-, %, Division
        buttons.add(new CalculatorButton('(', 'function', 'btn-function'));
        buttons.add(new CalculatorButton(')', 'function', 'btn-function'));
        buttons.add(new CalculatorButton('mc', 'memory', 'btn-memory'));
        buttons.add(new CalculatorButton('m+', 'memory', 'btn-memory'));
        buttons.add(new CalculatorButton('m-', 'memory', 'btn-memory'));
        // ...
    }

    // ...
}

// A customisation to add developer calculations to the calculator
public class DeveloperCalculator implements ICalculatorFunctions {

    public List<CalculatorButton> getButtons() {
        // ...
    }

    // ...
}
Putting aside how additional implementations are configured for the moment then this is a basic way to loosely create an instance of a known implementation of the ICalculatorFunctions interface.
ICalculatorFunctions calculatorFunctions =
    (ICalculatorFunctions) type.forName('ScientificCalculator').newInstance();
List<CalculatorButton> buttons = calculatorFunctions.getButtons();
Of course in reality ScientificCalculator is not hard coded as shown above, as mentioned above, some form of configuration storage is used to let Admins configure the specific class name. This is typically a string field that stores the class name. In the the example in this blog our Calculator Lightning Web Component property configuration is stored within the Lightning page the component is placed on.
Using a simple text field for the property is basically asking Admins to remember or search for class names is not the best of experiences, and so custom configuration UIs can be built to perform the searching and discovery for them. Key to this in the case of an Apex interface is using the ApexTypeImplementor object, which allows you to dynamically query for implementations of ICalculatorFunctions. The following SOQL query will return the names of the above two class names, ScientificCalculator and DeveloperCalculator.
            SELECT Id, ClassName, ClassNamespacePrefix, InterfaceName, InterfaceNamespacePrefix, IsConcrete, ApexClass.IsValid, ApexClass.Status
            FROM ApexTypeImplementor
            WHERE InterfaceName = 'ICalculatorFunctions'
              AND IsConcrete = true
              AND ApexClass.IsValid = true
              AND ApexClass.Status = 'Active'
            WITH USER_MODE
            ORDER BY ClassName
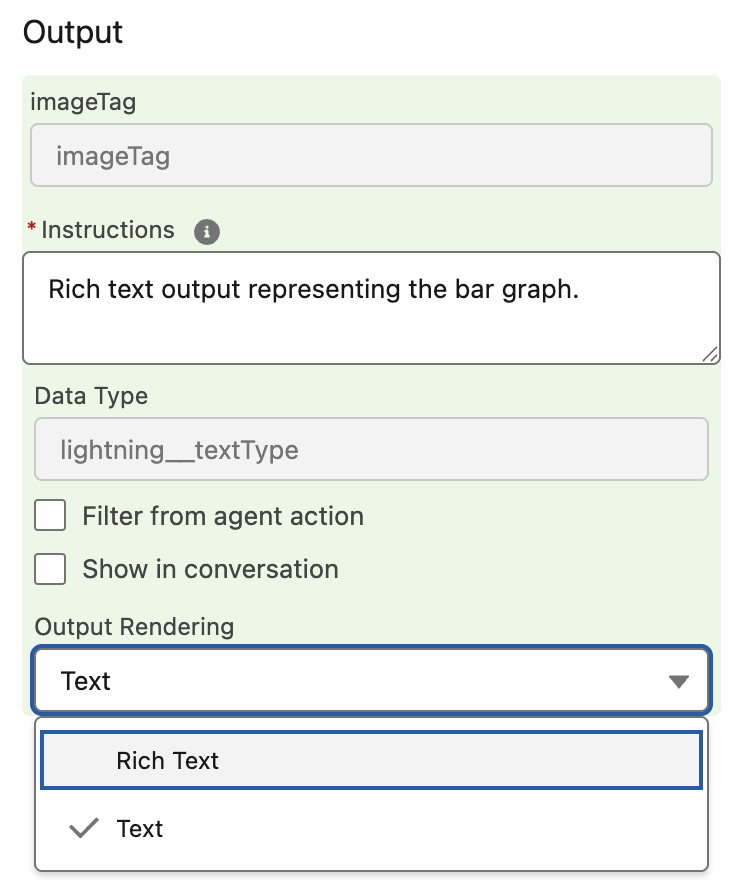
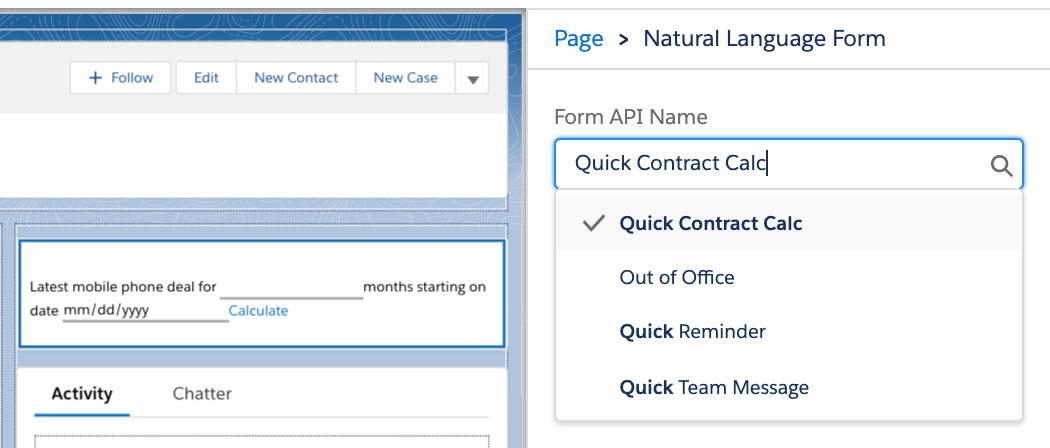
You can read more about ApexTypeImplementor and various usage considerations here. In your application, you can choose where to place your configuration UIs, your own custom UI, or one already provided by the platform. In this latter case, we are providing a Calculate LWC component to administrators and wish to offer a means to extend it with additional Apex code using Apex Interfaces. Here, we expose a text property to allow the administrator to specify which implementing Apex class name to use based on their needs. Fortunately, we can do better than this and annotate the LWC property with another Apex class that dynamically retrieves a list of only Apex classes implementing that interface, as shown below.

The following shows the LWC component metadata configuration and the Apex class using the ApexTypeImplementor object we used above to only show Apex classes implementing the ICalculatorFunctions interface. The source code for this component is included in the GitHub repository linked below. By using the datasource attribute on the targetConfig property element Salesforce will render a drop down list instead of simple text box.
<?xml version="1.0" encoding="UTF-8"?>
<LightningComponentBundle xmlns="http://soap.sforce.com/2006/04/metadata">
    <apiVersion>64.0</apiVersion>
    <isExposed>true</isExposed>
    <targets>
        <target>lightning__RecordPage</target>
        <target>lightning__AppPage</target>
        <target>lightning__HomePage</target>
        <target>lightning__UtilityBar</target>
    </targets>
    <targetConfigs>
        <targetConfig targets="lightning__RecordPage,lightning__AppPage,lightning__HomePage,lightning__UtilityBar">
            <property
                name="usage"
                type="String"
                label="Calculator Usage"
                description="Select the calculator type to determine available buttons"
                datasource="apex://CalculatorUsagePickList"
                default=""
            />
        </targetConfig>
    </targetConfigs>
</LightningComponentBundle>
The following code implements the CalculatorUsagePickList class referenced above by extending the VisualEditor.DynamicPickList base class to dynamically discover and render the available implementations of the interface. It uses small library class, Extensions, I built for this blog that wraps the SOQL shown above for the ApexTypeImplementor object. It also allows for a richer more type safe way to specify the interface and format the results in way that helps make the class names more readable.
public class CalculatorUsagePickList extends VisualEditor.DynamicPickList {

    public override VisualEditor.DataRow getDefaultValue() {
        VisualEditor.DataRow defaultValue = new VisualEditor.DataRow('', 'Basic Calculator');
        return defaultValue;
    }

    public override VisualEditor.DynamicPickListRows getValues() {
        VisualEditor.DynamicPickListRows picklistValues = new VisualEditor.DynamicPickListRows();

        // Use Extensions.find to get all ICalculatorFunctions implementations
        Extensions extensions = new Extensions();
        Extensions.ApexExtensionsFindResults results =
                 extensions.find(ICalculatorFunctions.class);

        // Add basic calculator option (no additional buttons) and any dynamicly discovered implementations
        VisualEditor.DataRow basicOption = new VisualEditor.DataRow('Basic Calculator', '');
        picklistValues.addRow(basicOption);
        List<Extensions.ApexExtensionsFindResult> names = results.toNames();
        for (Extensions.ApexExtensionsFindResult name : names) {
            VisualEditor.DataRow value =
                  new VisualEditor.DataRow(name.label, name.name);
            picklistValues.addRow(value);
        }

        return picklistValues;
    }
}
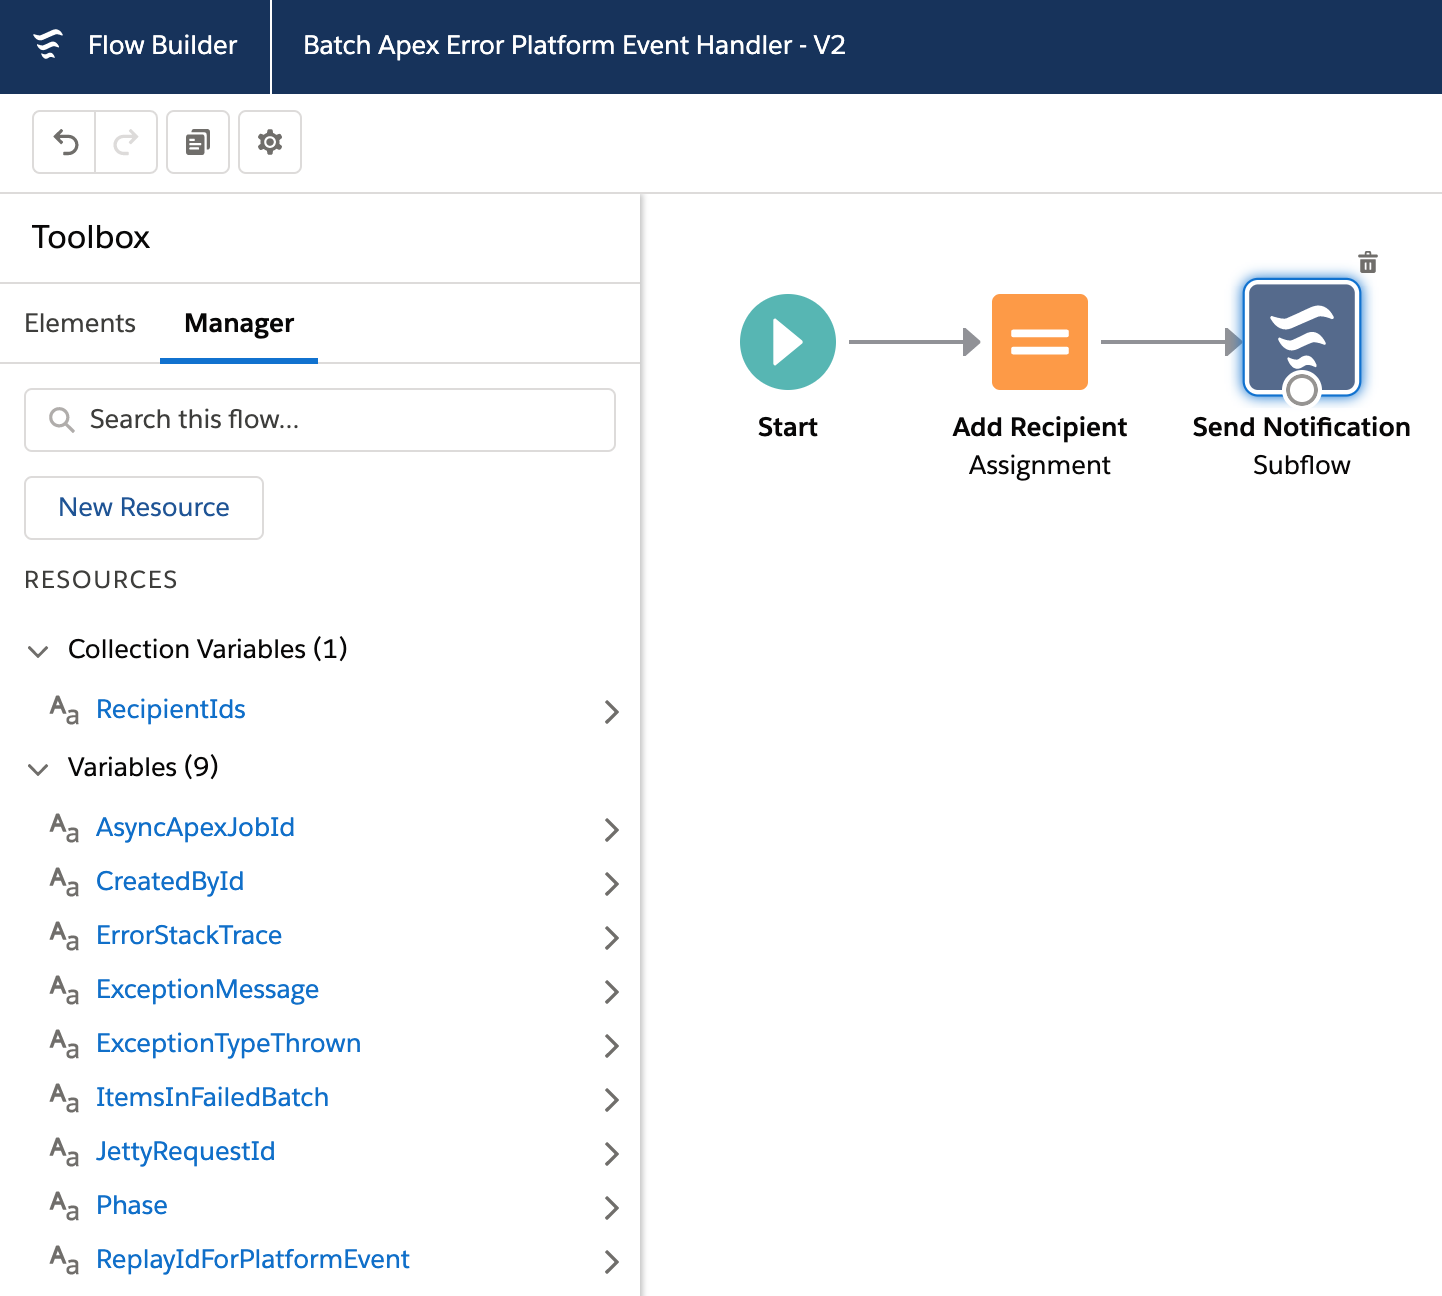
Of course Apex is not the only way to implement logic on the Salesforce platform, we can also use Flow and although slightly different in approach the above principles can also be applied to allow users to customise your application logic with Flow as well – just like other platform features offer.
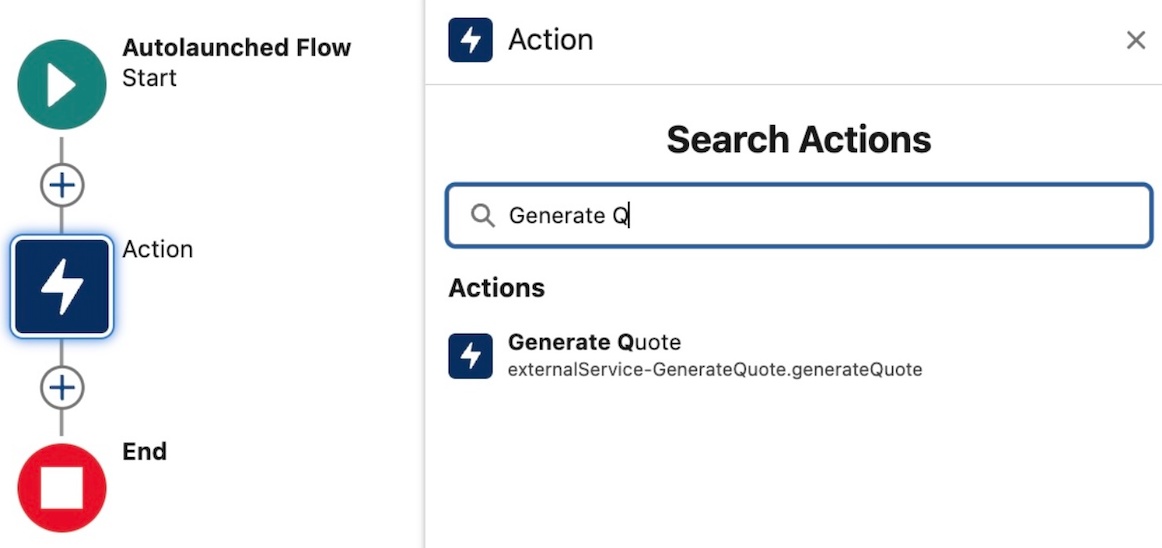
Actions and Discovery
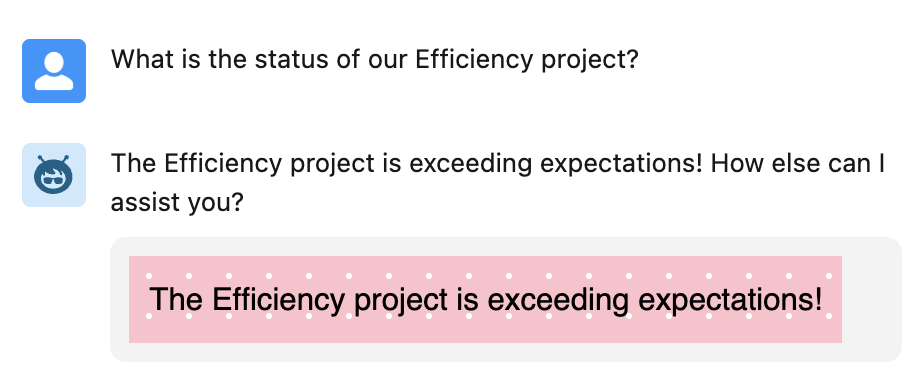
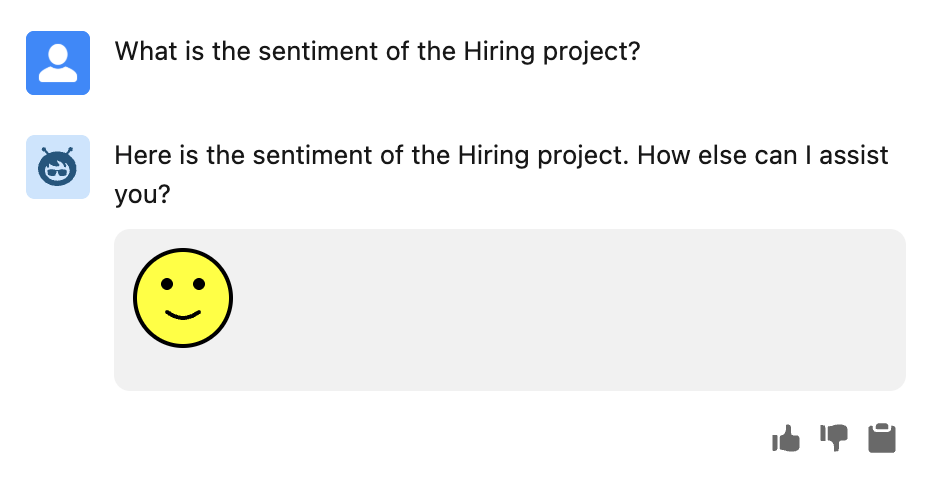
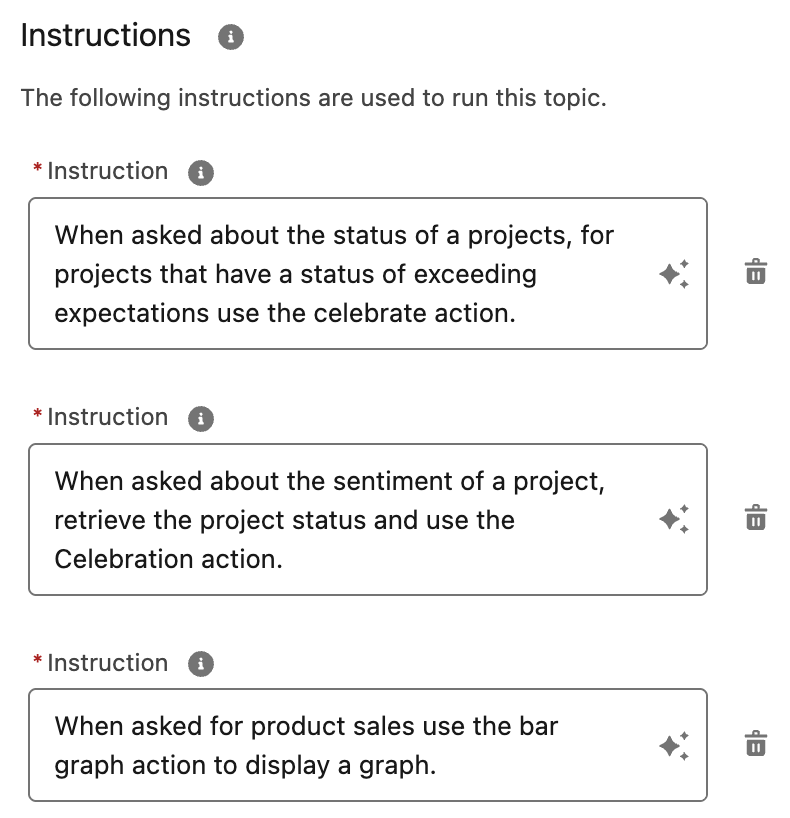
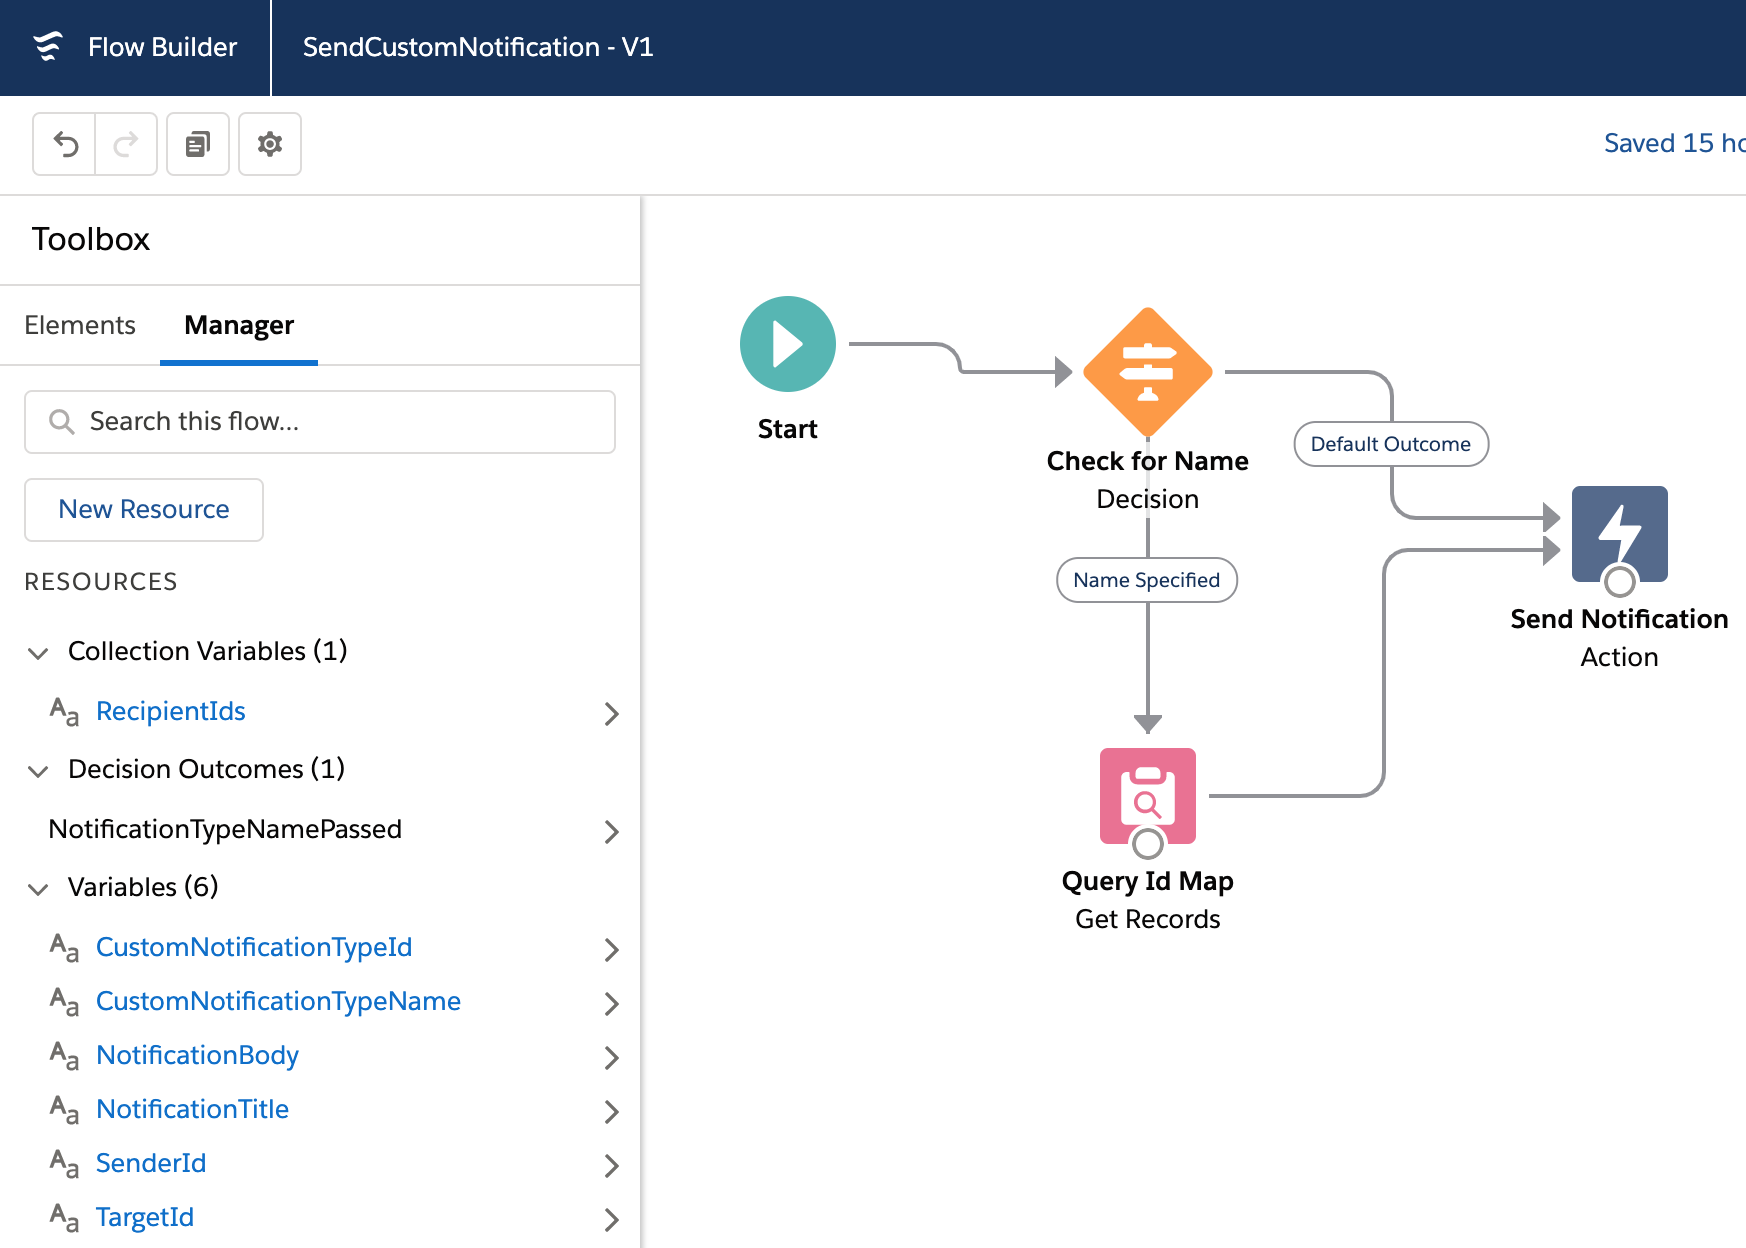
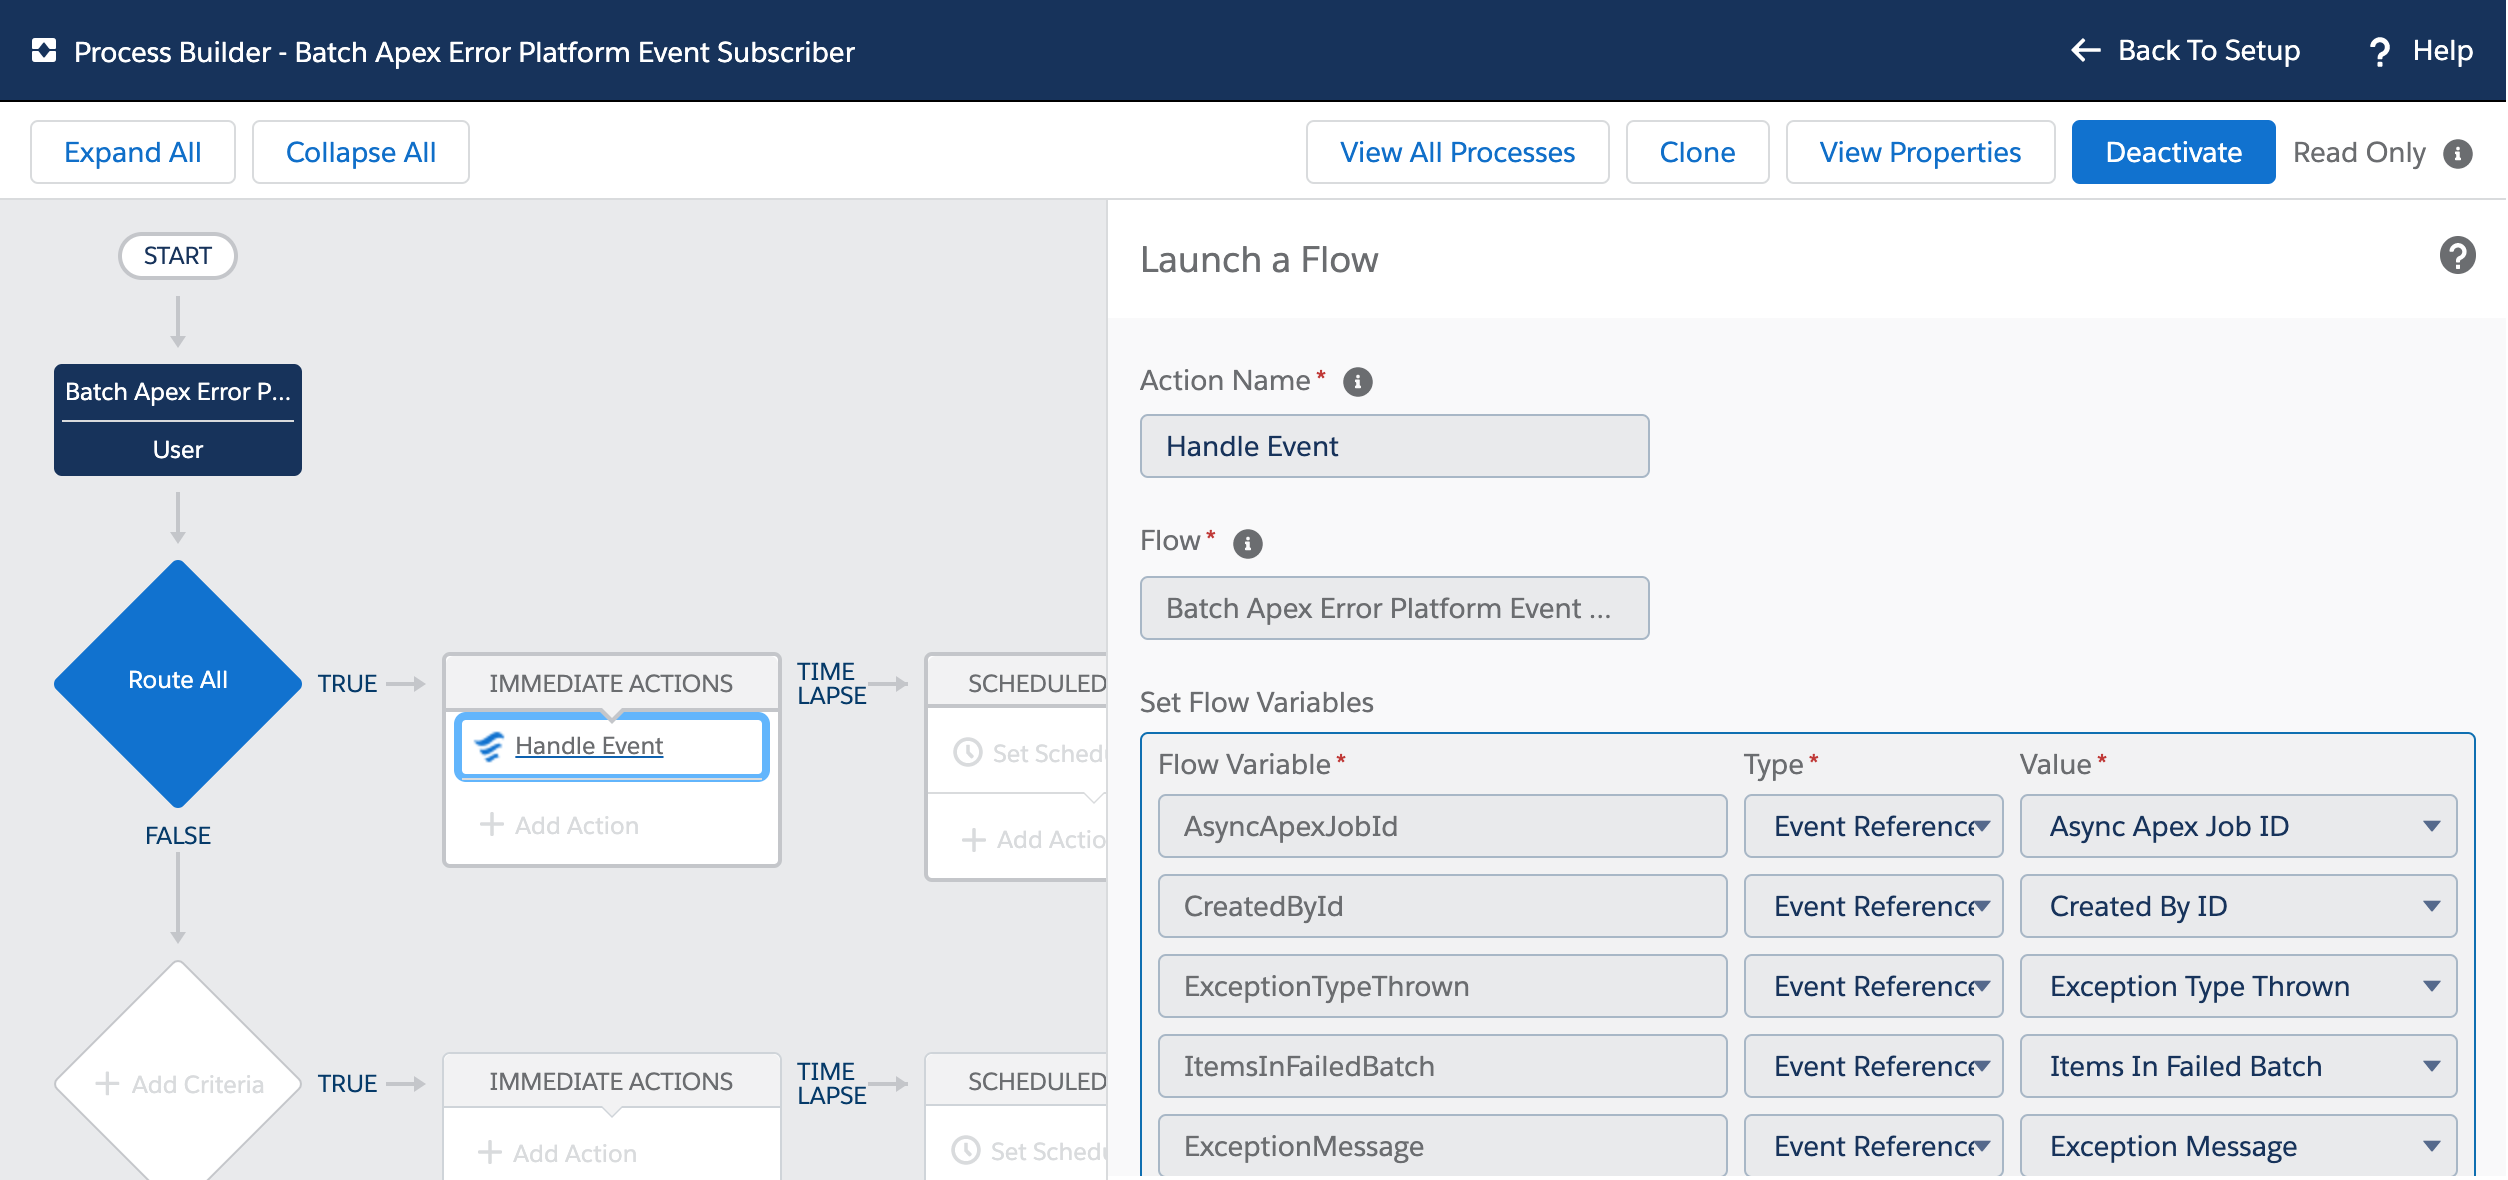
Actions are now a standard means of defining reusable tasks for many platform tools – with Salesforce providing many standard actions to access data, send emails, perform approvals and more. The ability for Admins to create custom actions via Flow is the key means for using no-code to extend other Flows, Lightning UIs and Agentforce. It is also possible to have your Salesforce applications offer Flow extensibility by using the Apex Invocable API. The following Apex code shows how to invoke a Flow action from Apex – once again though hard coded here imagine the Flow name comes from a configuration store, a Custom Metadata Type or property configuration as shown above.

Invocable.Action action = Invocable.Action.createCustomAction('Flow', 'HelloWorld');
action.setInvocationParameter('Name', 'Codey');
List<Invocable.Action.Result> results = action.invoke();
System.debug(results[0].getOutputParameters().get('Message'));
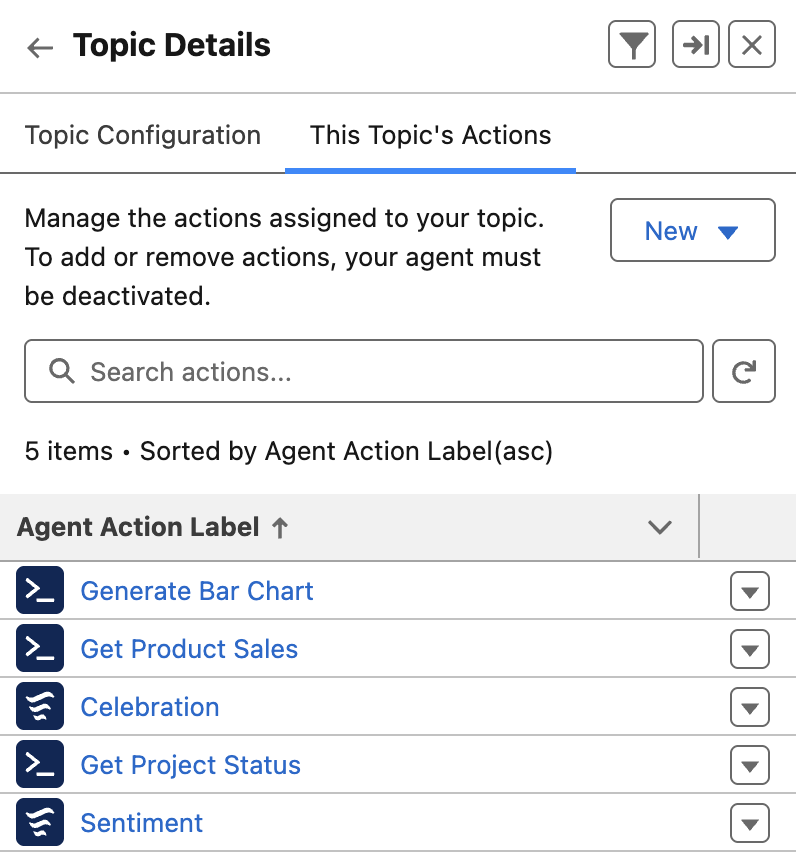
If you have used platform tools like Flow, Lightning App Builder, Buttons, Agent Builder, and more, you will notice that they allow Admins to search for actions – there is no need to remember action names. This can be achieved in your own configuration UIs by using the Standard and Custom Actions list APIs. The snag here is this API is not directly available to Apex; you have to call the Salesforce REST API from Apex.
        String orgDomainUrl = URL.getOrgDomainUrl().toExternalForm(); // Org Domain scoped callouts do not require named credentials
        String sessionId = UserInfo.getSessionId();
        HttpRequest req = new HttpRequest();
        req.setEndpoint(actionType == 'standard'
            ? orgDomainUrl + '/services/data/v64.0/actions/standard'
            : orgDomainUrl + '/services/data/v64.0/actions/custom/' + actionType);
        req.setMethod('GET');
        req.setHeader('Authorization', 'Bearer ' + sessionId);
        req.setHeader('Content-Type', 'application/json');
        Http http = new Http();
        HttpResponse res = http.send(req);
This returns the following response
{
  "actions": [
    {
      "label": "Hello World",
      "name": "HelloWorld",
      "type": "FLOW",
      "url": "/services/data/v64.0/actions/custom/flow/HelloWorld"
    }
}
I also integrated this approach in the the Extensions helper I used in the Apex Interface example:
// Find all Flow custom actions
List<Extensions.ActionExtensionsFindResult> flowActions =
    new Extensions().find(Extensions.ActionTypes.FLOW);
System.debug('Found ' + flowActions.size() + ' Flow custom actions:');
for (Extensions.ActionExtensionsFindResult action : flowActions) {
    System.debug('Action: ' + action.label);
    System.debug('  Name: ' + action.name);
    System.debug('  Qualified Label: ' + action.labelQualified);
    System.debug('  Action Type: ' + action.action.getType());
    System.debug('---');
}
Apex Interfaces vs Actions
Both of these approaches allow you to invoke logic written in either code or no-code from within your Apex code – but which one should you use? Certainly, performance considerations are a key factor, especially if the code you’re adding extensibility to is deep in your core logic and/or tied to processes that operate in bulk or in the background against large volumes of data. Another factor is the information being exchanged: is it simple native values (numbers, strings) or lists, or more complex nested structures? Basically the extensibility context does play a role in your choice – as does use case.
In general, if you’re concerned about performance (trigger context included here) and/or the use case may involve more than moderate calculations/if/then/else logic, I would go with Apex interfaces. Actions (typically implemented in Flow) can offer an easy way for admins to customize your UI logic, search results, add new button handling, or inject additional content on your page/component. Also worth keeping mind, Actions do come in other forms such as those from Salesforce; even Agents are Actions – so simply allowing Admins to reuse Standard Actions within your logic is a potential value to consider – and might be more optimal than them attaching to record changes for example.
Types of Extensibility, Motivations and Value
Carefully consider and validate extensibility use cases before embedding them in your Apex code; in some cases, an admin may find it more natural to use Flow and/or Lightning App Builder to orchestrate a brand-new alternative UI/process to the one you provide rather than extend it from within. By reusing existing objects and/or Apex Invocable actions, you are effectively building around your application logic vs. extending it from within, as per the patterns above. Both patterns are valid, though.
You might also wonder how important providing extensibility is to your users – especially if you have not been asked to include it. I once worked on an API enablement initiative with a Product Manager who had a strong affinity for providing integration facilities as standard. In a prior software purchasing role, they recognized the value as a form of insurance, as they could always build around or extend the application logic if they later found a feature gap.
My experience has also given me an appreciation that strong ecosystems thrive on customization abilities, and strong ecosystems strengthen the value of an offering—allowing influencers, customers, and partners to innovate further. And in case you’re wondering, is this just of interest for ISVs building AppExchange packages, the answer is no; it’s as important when building internal solutions; internal ecosystems and ease of customization are still important here, especially in larger businesses.
Here is a GitHub repository with the sample code and Extensions help class referenced in this blog. Let me know in the comments your thoughts and what ideas this prompted for your solutions?


 I’m proud to announce the third edition of my book has now been released. Back in March this year I took the plunge start updates to many key areas and add two brand new chapters. Between the 2 years and 8 months since the last edition there has been several platform releases and an increasing number of new features and innovations that made this the biggest update ever! This edition also embraces the platforms rebranding to Lightning, hence the book is now entitled Salesforce Lightning Platform Enterprise Architecture.
 Getting your users attention is not always easy, choosing how, when and where to notify them is critical. Ever since Lightning Experience and Salesforce Mobile came out the notification bell has been a one stop shop for Chatter and Approval notifications, regardless if you are on your desktop or your mobile device.
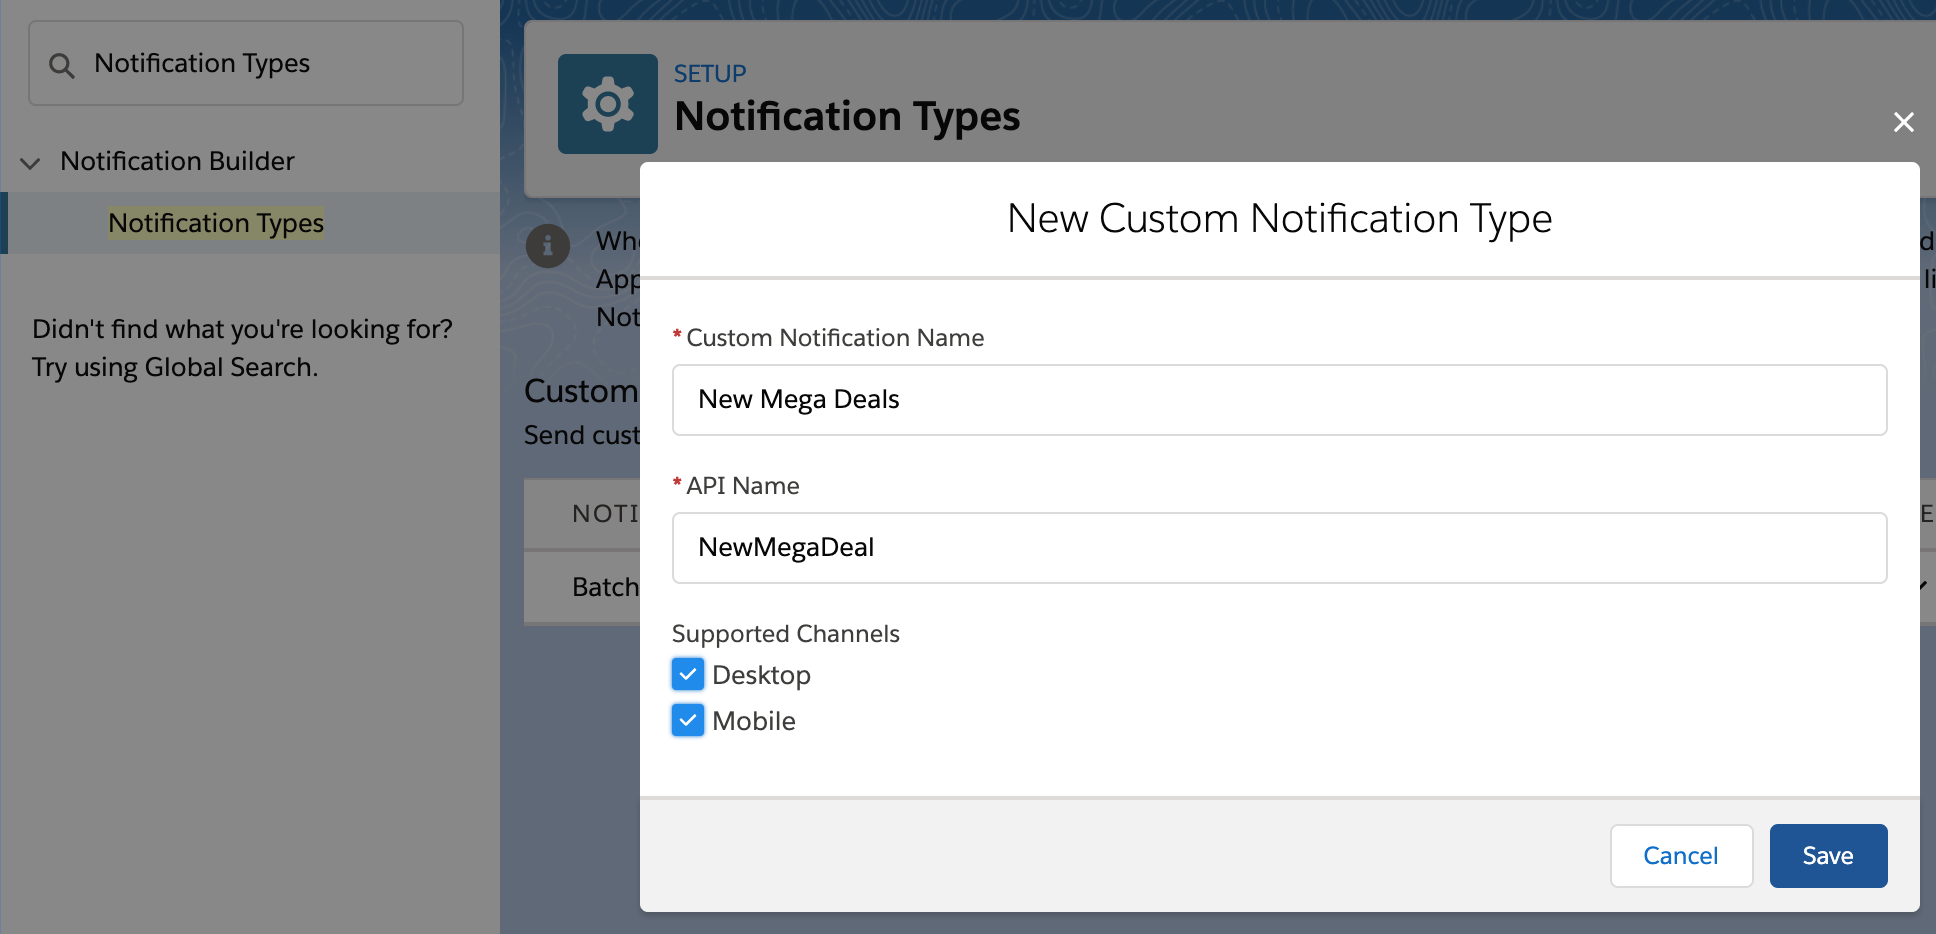


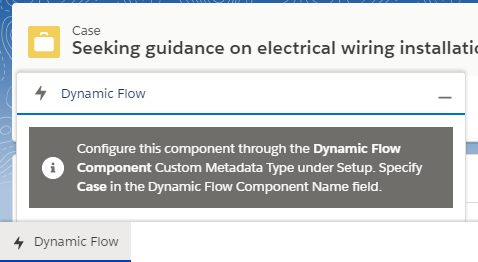
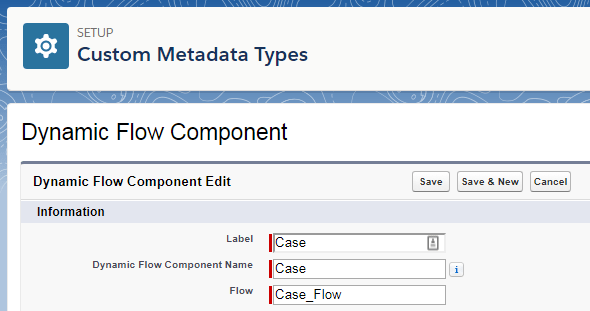
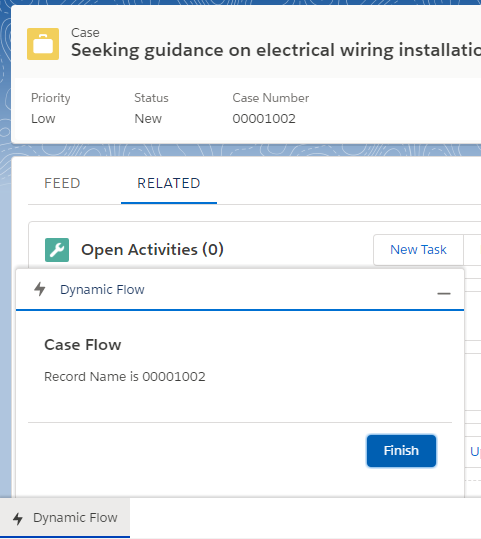
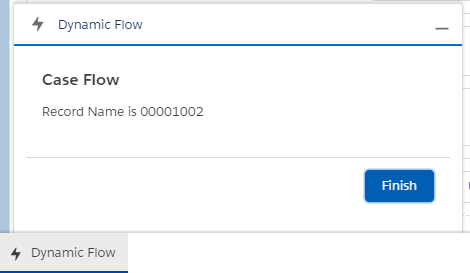 The Dynamic Flow Component (DFC) allows you to further extend your use of auto launch and screen